blinkpumpkin

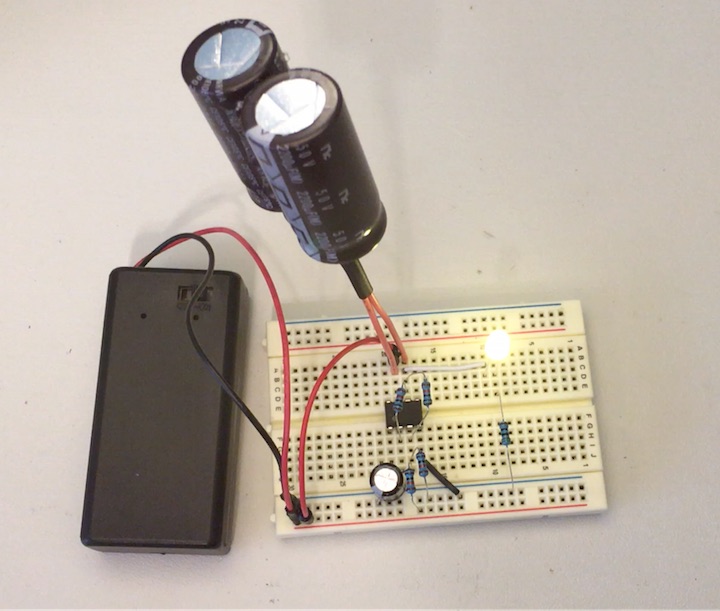
So you’ve carved a killer jack-o-lantern, eh? What better way to show off your work than to use an LED to make it glow from within! This LED fades in and out as if your pumpkin monster is breathing! With a few extremely cheap components and a bit of free time, you can have just that. The best part? No programming is required, as this circuit is all analog.

Before we get started, let’s take a look at the schematic.
Pumpkin Breathing LED Schematic

If you are an electrical engineer, you’ll notice that, even for analog, there are certainly better ways of making a breathing LED. I designed this because of how simple the circuit is and because I had all of these parts lying around already.

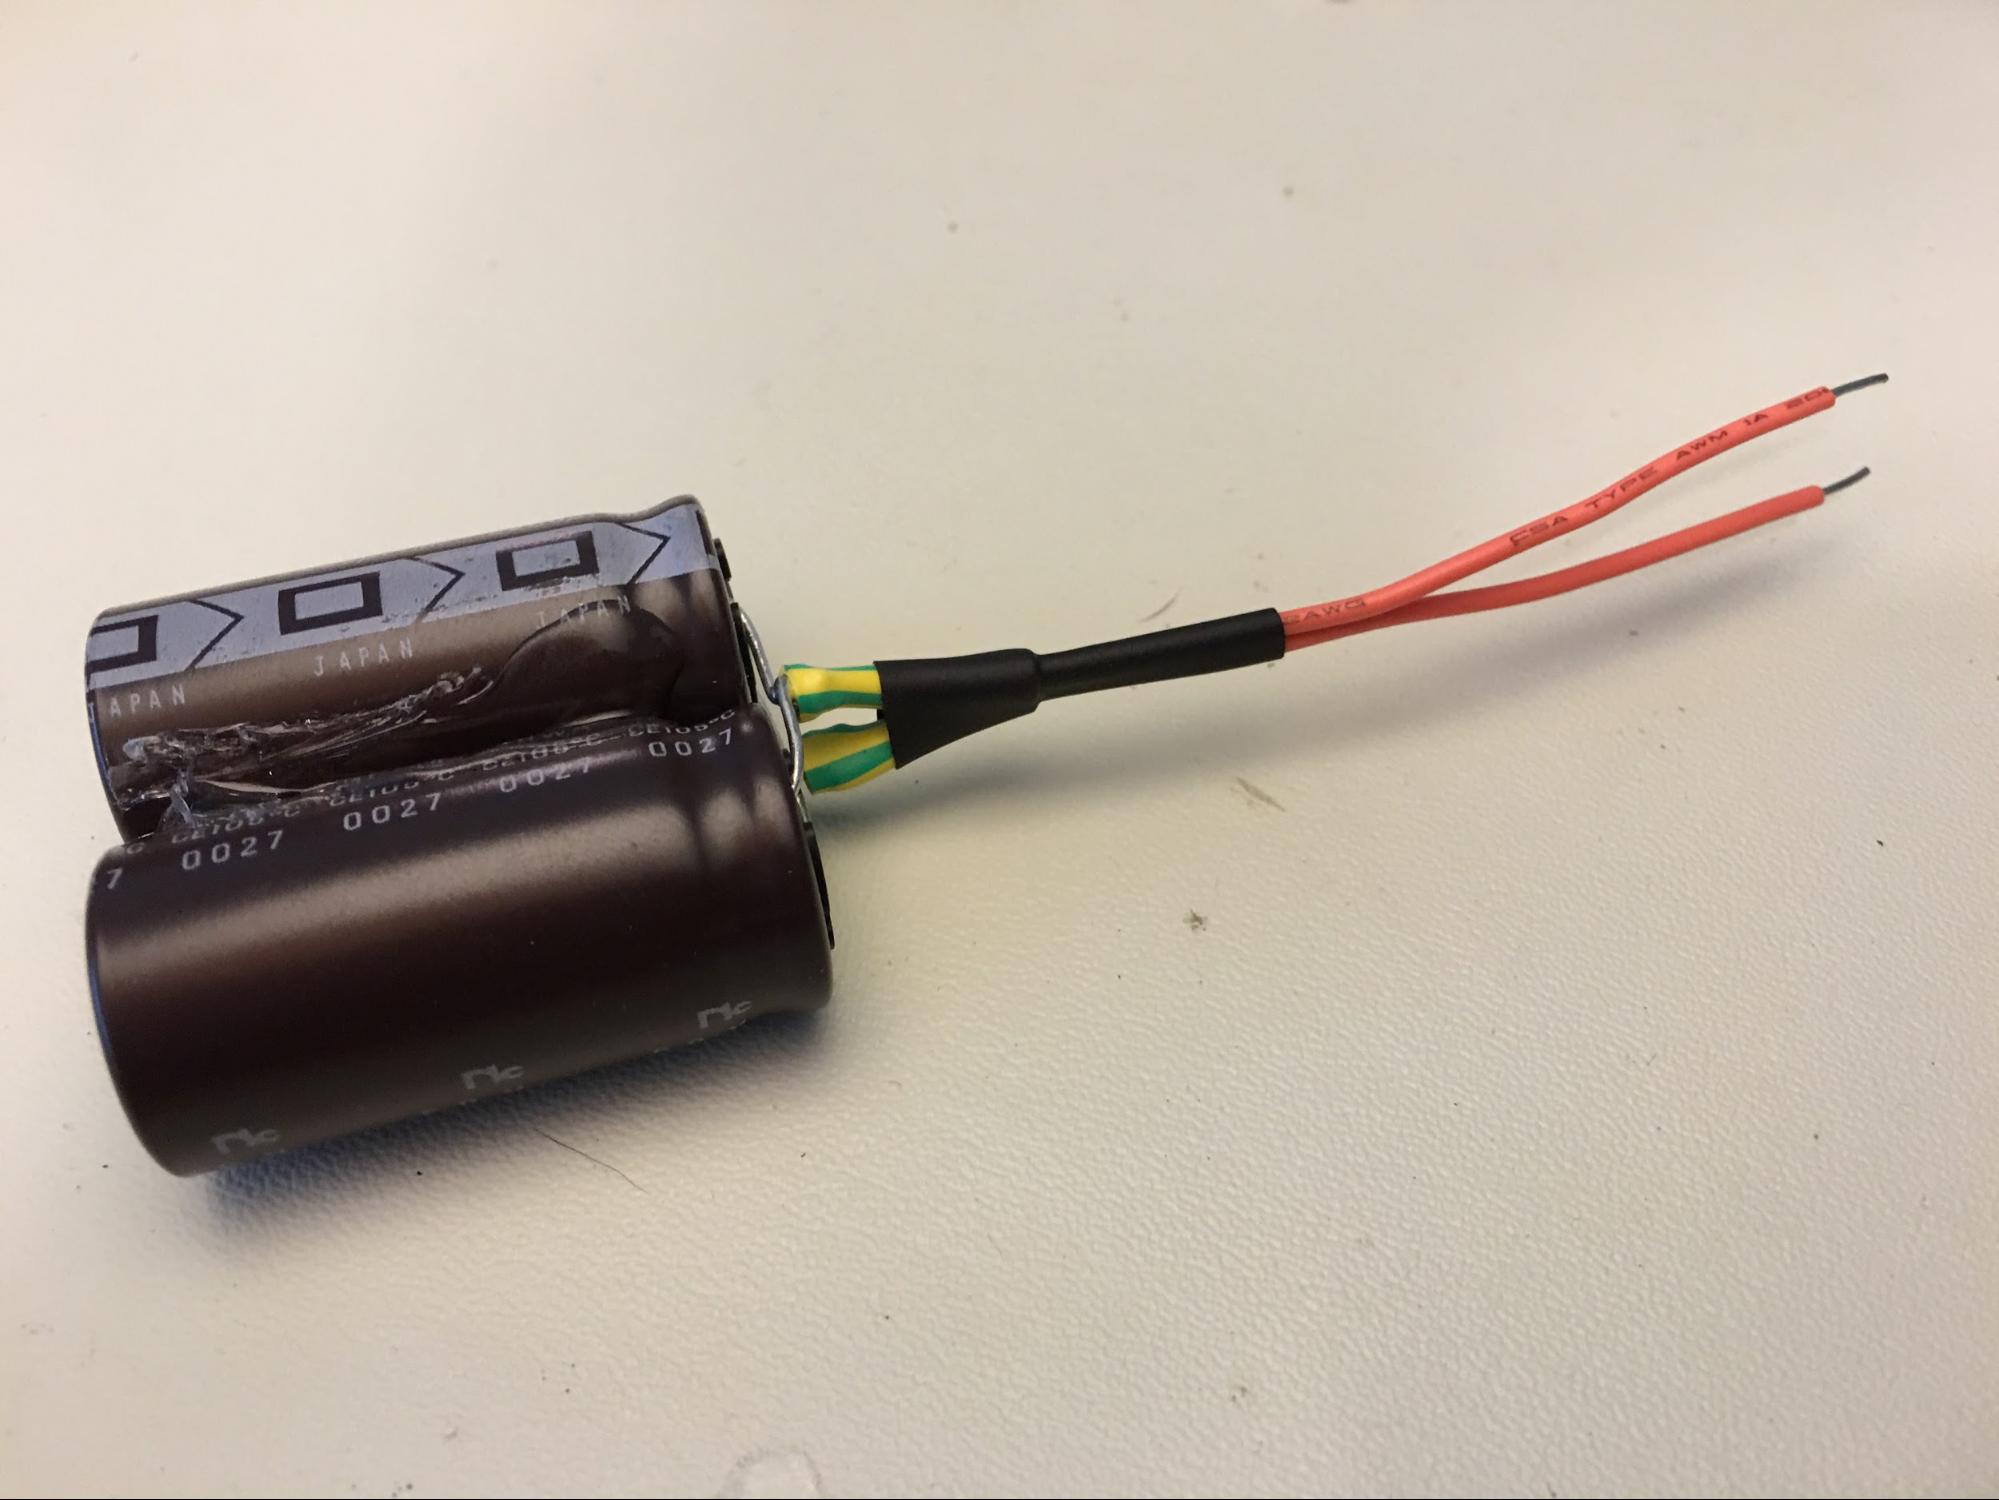
After I completed mine, I used some pliers and a box cutter to make the board much smaller. I folded the caps directly underneath and then wrapped the entire circuit in white electrical tape that I had found later. Leaving the battery and LED accessible, I placed the entire thing in a carved pumpkin. The effect was exactly what I was looking for!

YouTube player

When Halloween is over, I plan to take the warm white LED off and place a blue LED in its spot. I’m going to put the whole circuit inside of a “tap light” housing (remember those As Seen On TV lights?) and create a ambient relaxation light. Maybe it will help me sleep!

Project Steps

Breadboarding the Circuit

The first step is to place the TL071 op amp onto the breadboard. Make sure the pins straddle the crevice down the center of the board. This is what separates the four pins on either side, preventing a short.

Place Resistors

Now we must connect the bias resistors and the 4th pin of the op amp to ground. First, check out this image of an op amp to find out which pin is which

The two 10K bias resistors create a voltage divider. This turns the 9V supply into a 4.5V supply for pin 3. This allows the op amp output to swing nice and smoothly between 0V and 9V. Without the bias resistors, the op amp output voltage would try to swing below 0V, which doesn’t work.

Connect one of the resistor leads to the positive supply. Connect the other resistor lead to ground.

Now connect the open ends of both resistors to pin 3. After that, strip a small piece of wire and connect pin 4 of the op amp to ground.

Connecting the OpAmp

With the other two 10K resistors, we will connect an open lead of both resistors to the output of the op amp — pin 6. Bend the leads over the op amp and connect one lead to pin 2. Connect the lead of the other resistor to pin 3.

Little side note here: pin 2 and pin 3 are the inverting and non-inverting inputs of the op amp, respectively, should you want to do further research on op amps.

Electrolytic capacitors are polarized. With that in mind, the 100uF short lead (also the side of the capacitor with the stripe) needs to be connected to ground, while the longer, positive end connects to pin 2 of the op amp.

Believe it or not, the circuit is basically done. All that’s left to do is connect a battery and a light. Let’s get to it.

Add Power

Strip both ends and connect a wire from the positive supply (this is often called the positive rail; when I first started, simple terms like “rails” confused me quite a bit). I used a long jumper wire that I had lying around.

Connect the output (pin 6) to the longer side of the LED. I used a little white jumper wire to move the LED away from the op amp (just for clearer pictures).

Connect the short side of the LED to ground with the 470Ohm resistor. You can use a 510Ohm, 820Ohm, etc. Just keep it above 400Ohms and below 1K. Why? Any higher than 1K and the LED will be dim. Any lower than 400Ohm and you may have a firecracker instead of an LED.

Now connect your battery to the positive and negative rails. When you turn your circuit on, the light should blink. Not quite breathing yet. Let’s fix that.

Wiring Capacitors

I had these giant 2200uF capacitors lying around and when tied together short-lead-to-long-lead and vice versa, I created a non-polar capacitor, which is more than enough to give the LED a nice breathing effect.

IMPORTANT: All capacitors can hold a charge, and these particular ones hold quite a bit. It’s never a good idea to charge up capacitors and discharge them by shorting their leads together or touching the leads with your fingers. Capacitors can give you a pretty hefty jolt!

I hot glued my caps together as shown. It’s not a necessary step, but I like things tidy and neat. Notice how they are glued opposite polarity. I then wound the leads together as shown and soldered some orange wire to each. Why orange? Because Halloween!

I then used heat shrink tubing to insulate and clean up the look quite a bit. You can use electrical tape. If I had any, I would probably wrap the entire “juice pack” with it.

Now insert one lead at the positive supply. I used pin 7 since I know there is 9V there. The other lead should be connected to the output of the op amp at pin 6. Now, when the op amp goes low, the capacitors will discharge slowly into the LED, letting it fade nicely!

Finished! Kind of. We need to move the entire circuit to a circuit board and solder it. I used this cheapo board I found on eBay months ago. I don’t think it has a brand. Any perfboard or veroboard should be fine.

Populate the Perfboard

Move components over to the board piece by piece. I bent my output resistors over and moved my op amp first. There are no rules here. Just be careful. Think twice, solder once. Something like that.

When it was time to move the LED, I took a different approach. I soldered the 470Ohm resistor directly to the LED (doesn’t matter which side of the LED) and made an LED harness with some red and black wire. Again, not necessary, but it’s the route I took. I then used some heat shrink to clean it up.

Your final assembly will probably not look exactly like mine, but as long as the circuit is correct, everything should work great. Connect the battery and watch it breathe! Mwahahaha!!