


Here’s an easy beginner embroidery project that celebrates your favorite constellation. Follow along to see how I made these classic constellations and also glowing versions made with LEDs and conductive thread.


Here’s an easy beginner embroidery project that celebrates your favorite constellation. Follow along to see how I made these classic constellations and also glowing versions made with LEDs and conductive thread.
Whether you want to embroider the constellation with or without LEDs, I’ve got you covered with a free PDF pattern for every sign in the zodiac, plus circuit diagrams:
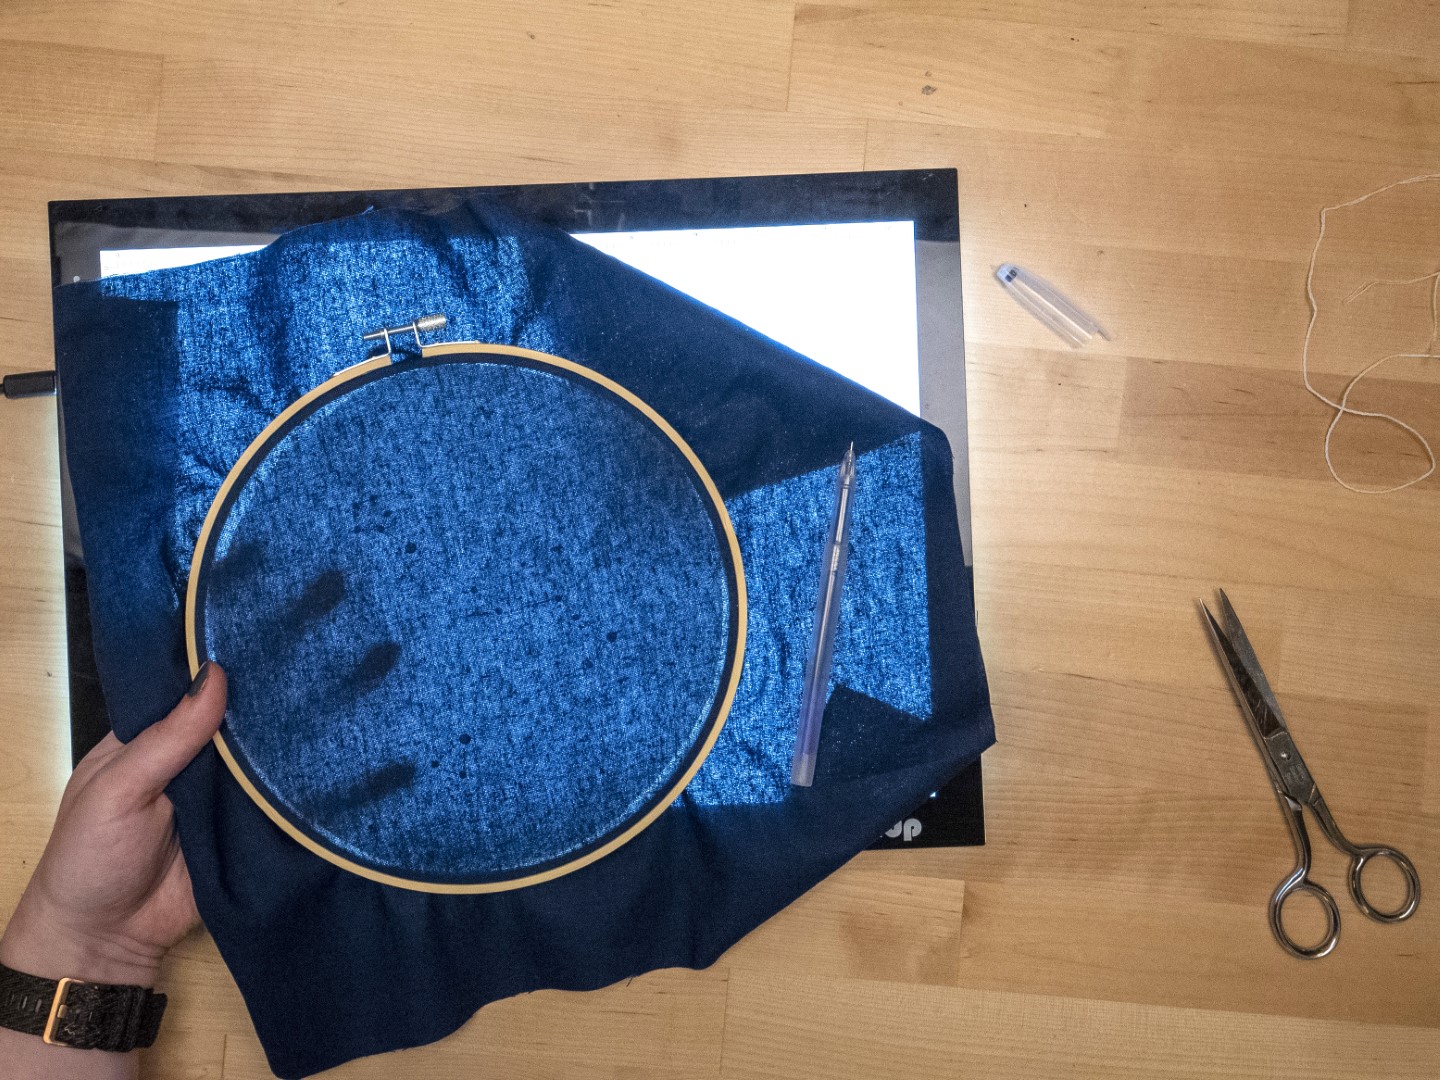
Start by putting the dark blue fabric in the hoop: Sandwich it between the inner and outer rings and pull it taut while tightening the screw.
Then draw the constellation pattern with a water-soluble marking pen. I printed the pattern and traced it using my USB lightbox , but you could also tape it up to a window or use your laptop screen as a lightbox instead.
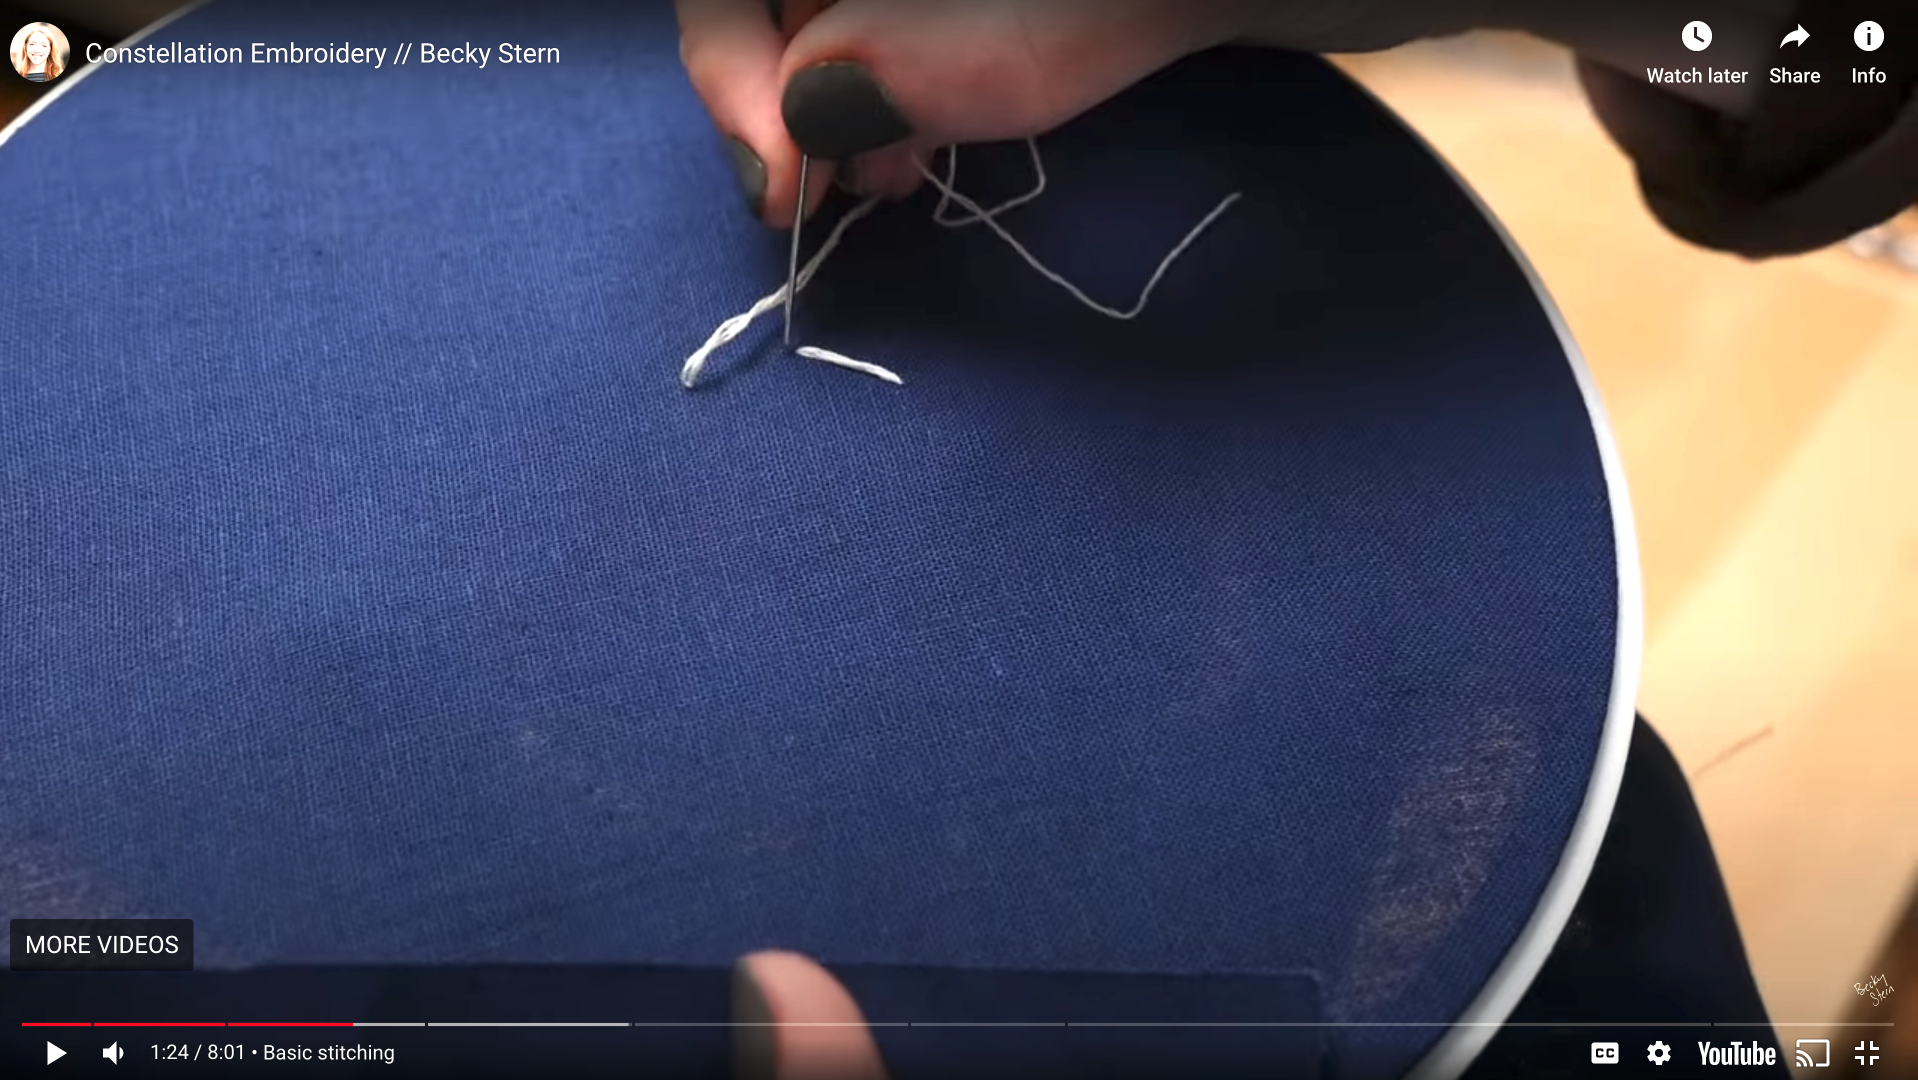
Next, thread a needle with white embroidery floss. I used three strands, which I separated from the full thickness. Start stitching from back to front, leaving a few inches of floss tail at the back. Instead of knotting the floss at the back, I like to secure that tail using the future stitches. This keeps the embroidery nice and flat, but it’s also OK to tie a knot in the floss.
For the lines connecting the stars in my constellation, I stitch back and forth between the front and the back wherever I want a line to be. If you skip ahead and stitch back, like I did in this sample, it’s called a backstitch, but I also used a running stitch to make the long lines.
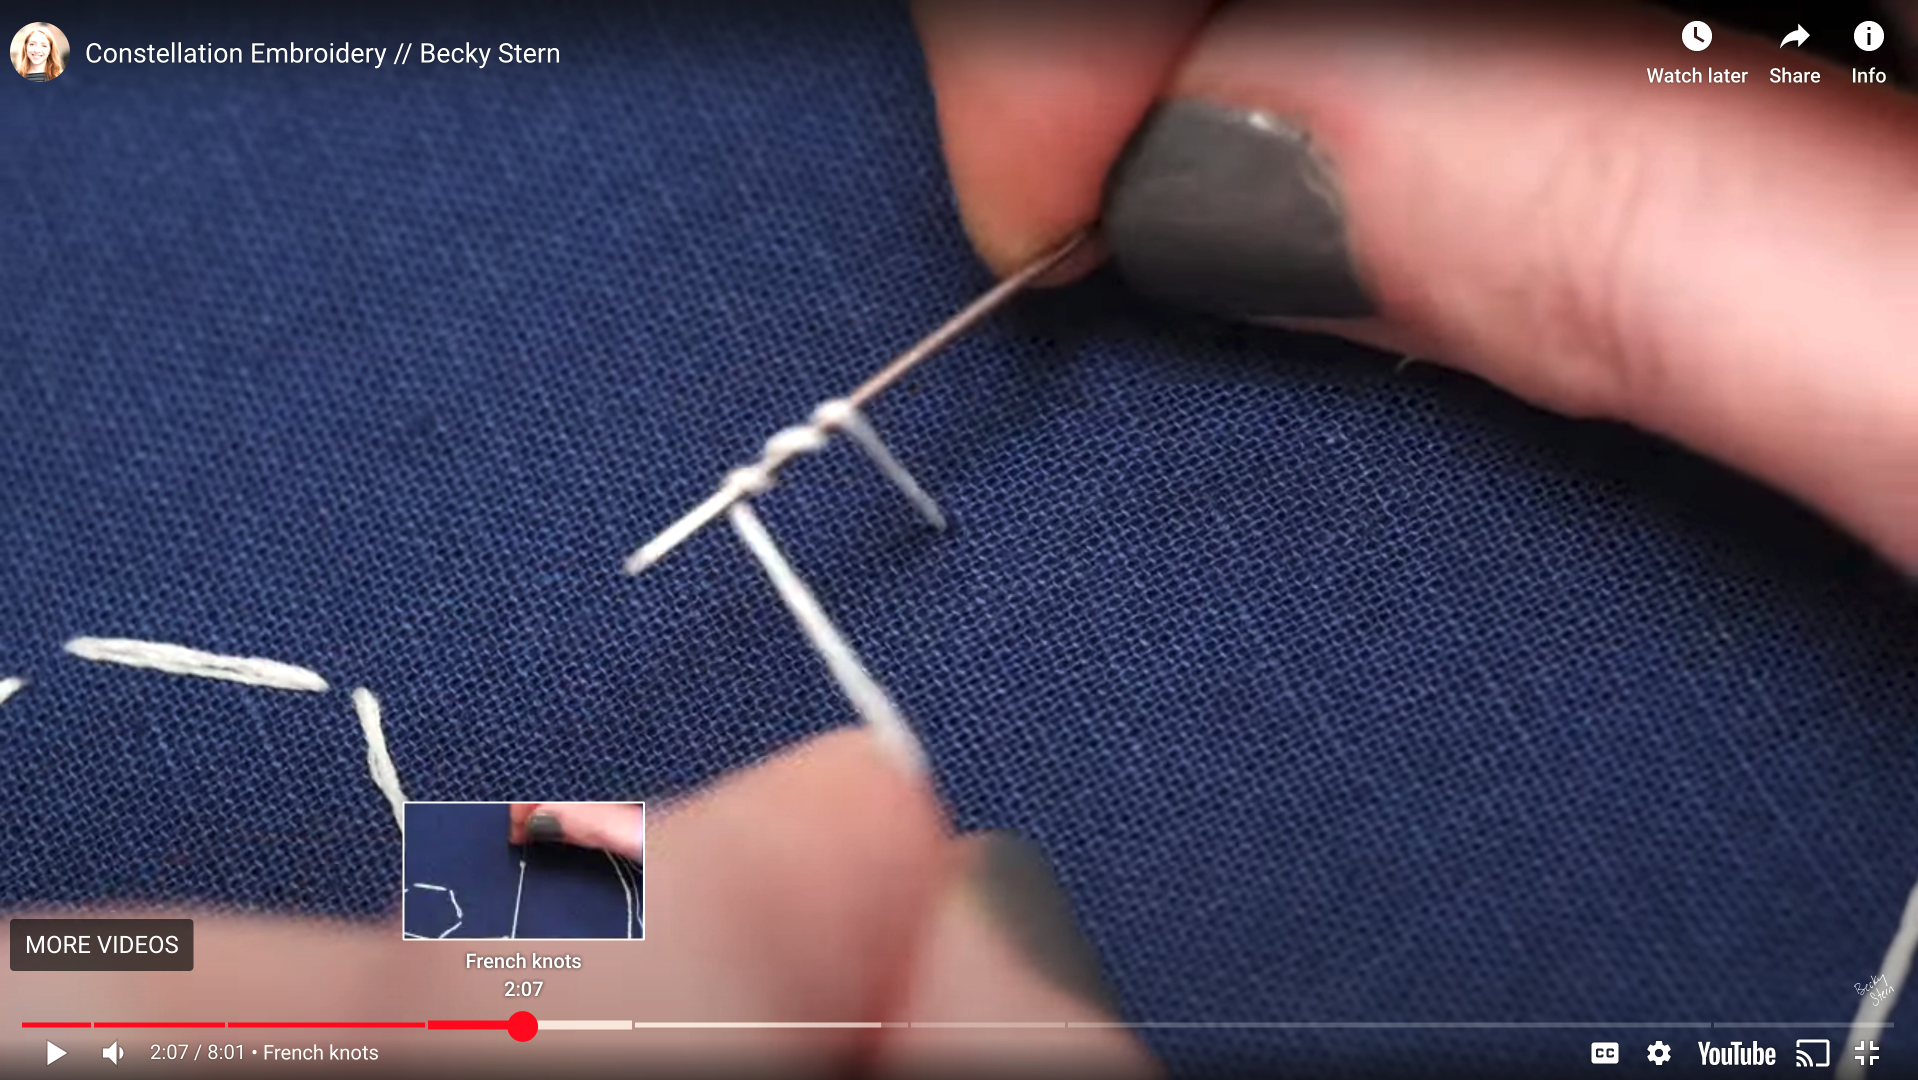
For the stars, I use another type of stitch called a French knot. I come up from the back of the fabric and pull the floss all the way tight. Then I’ll take my needle in my dominant hand, and grab the floss near the fabric with the other hand. With the point of the needle facing away from the hole in the fabric, wrap the floss around the needle a few times, then pierce it through the fabric close to where it originated. All while holding the floss slack snug with my non-dominant hand, I’ll pull the threaded needle through the newly formed knot to the back of the fabric, until the slack neatly tightens to form a knot. The size of the French knot depends on how much floss you’re using, and how many times you wrap it around the needle.
I used a combination of running and back stitches and French knots to follow along the lines I drew on the fabric earlier. To end the floss at the back, I just used the needle to thread it through the backs of some other stitches, and cut off any extra. Then I sprayed the whole thing down with water and used a paper towel to lift away the water-soluble pen marks.
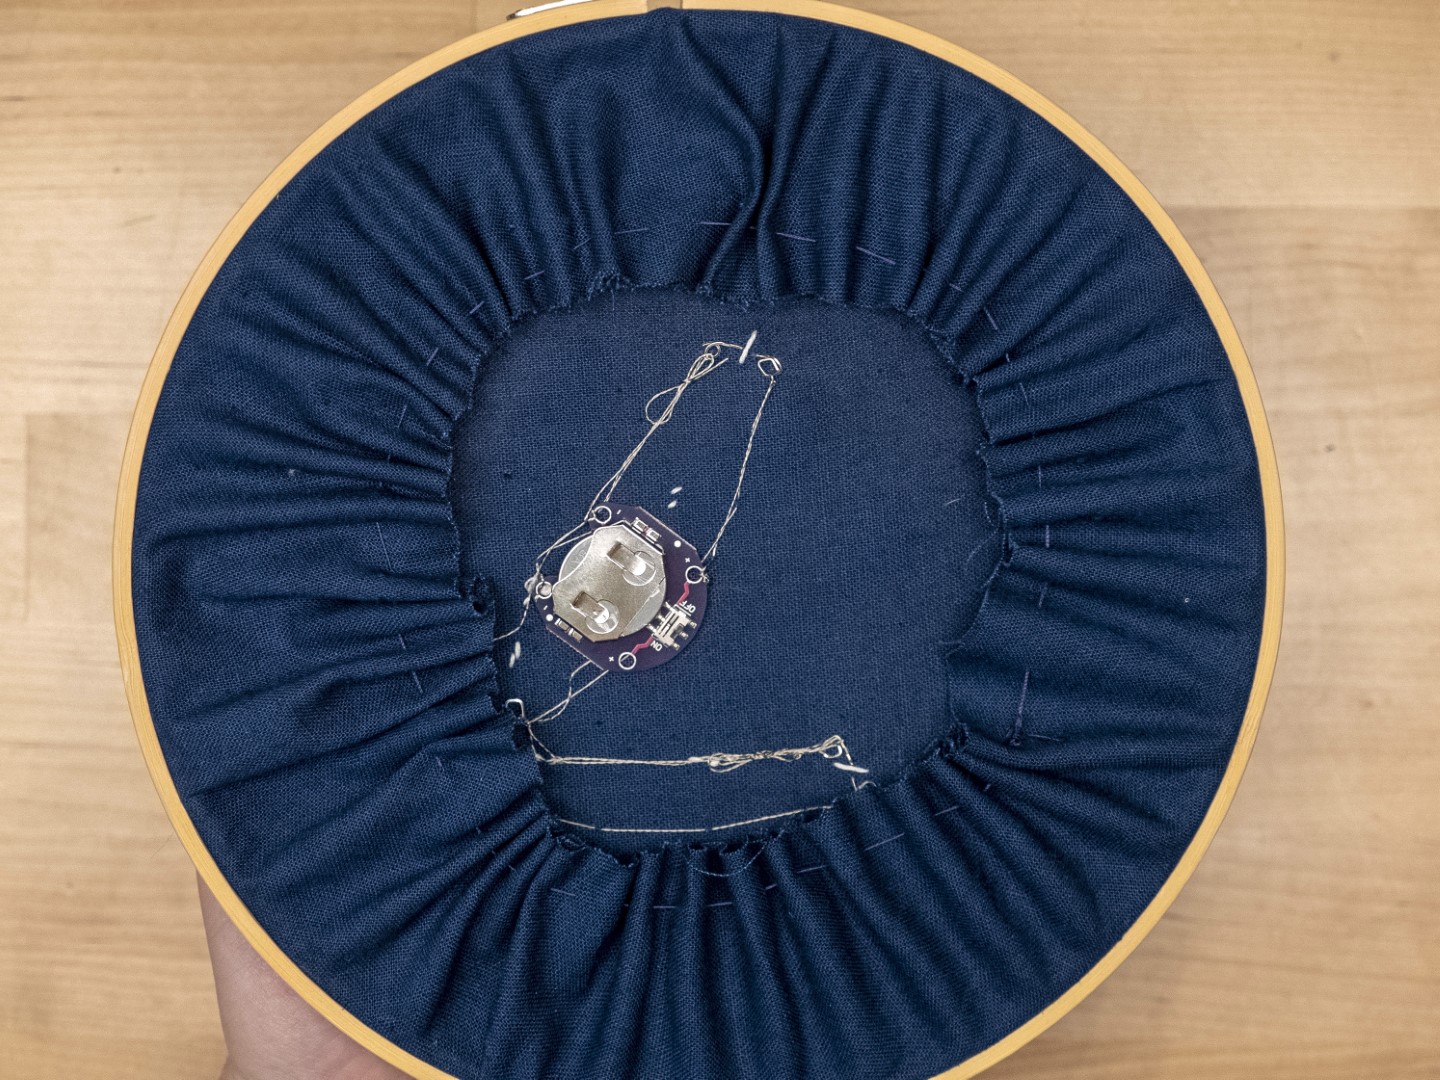
Before I could hang it on the wall, I wanted to take care of the extra fabric along the edge. I cut it to match the shape of the hoop and then gathered it at the back with a running stitch and some plain thread. But if you don’t like the wood hoop look, you could also mount this up in a standard picture frame, or even sew it into a pillow cover or quilt.
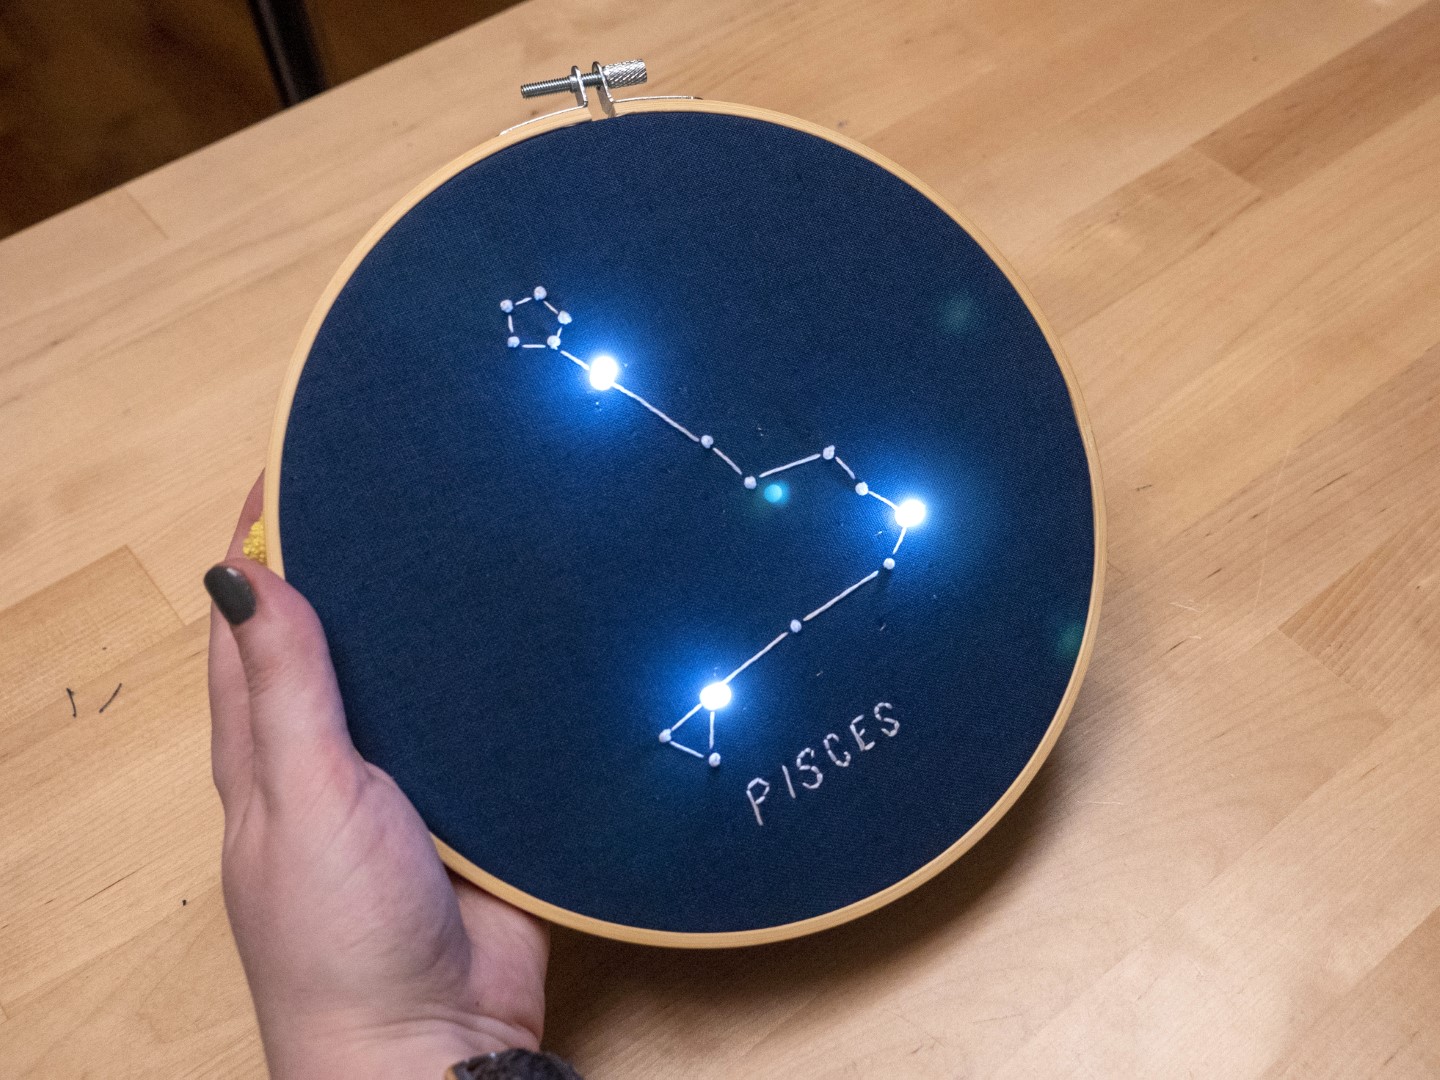
While this embroidery is perfectly fine on its own, you know I couldn’t resist adding LEDs to this space-themed project to bring it to the next level. I’m using my LED sewing kit, which has everything I need for a project like this.
I’m starting with the same embroidery as before, except I’ve picked three big stars for the LEDs and left those spots blank instead of the usual French knot. Pierce the LED legs through the fabric in those spots, and splay them out at the back. Find the longer, positive leg of each LED, then use pliers to twist each of these into a loop, so they’re easy to tell apart from the negative legs.
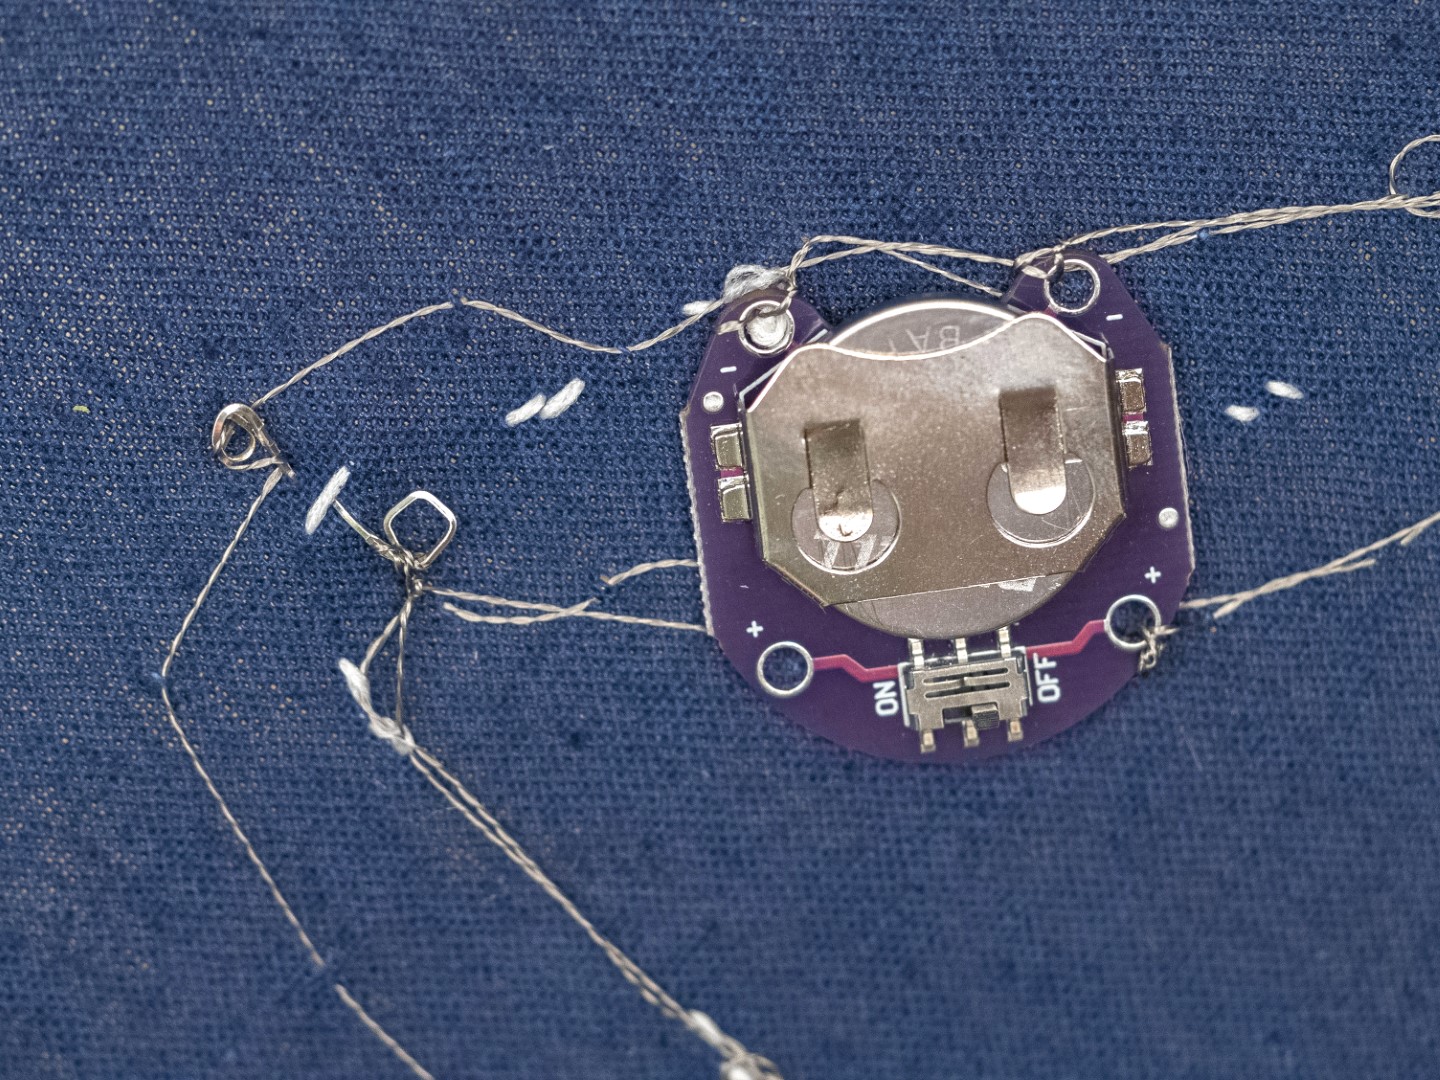

Next, stitch on the battery holder using conductive thread, somewhere toward the middle of the design. I attached it to the backs of the stitches where possible, and just caught a few fibers of the fabric everywhere else, so you won’t be able to see very much conductive thread on the front.
Attach all the positive LED legs to the positive (+) contacts on the battery holder, and all the negative (–) contacts to ground. This conductive thread is very thick, so I needed to tie several knots and tuck in the thread ends where they can’t spring apart and touch positive to negative, which would make a short circuit.
The battery holder has a little switch on it, which makes it easy to turn the LEDs on and off. Light them up!
For more free and excellent beginner lessons, please visit my friend Jessy’s Embroidery Class .


