Soldering is a valuable skill. There are a lot of situations where the ability to repair or modify electronics can really save the day. But most people don’t carry a soldering iron around with them. And even if you did have a soldering iron, there is a good chance that you might not have access to electricity.

So today I am going to show you how to solder using random objects that you might find lying around (and a little bit of solder).

Project Steps

Obligatory Safety Warning

This project involves working closely with open flame, so be sure to take all the necessary safety precautions. Always closely monitor a fire and never leave it unattended. Keep a responsible adult nearby with a fire extinguishing tool. Make every effort to keep the fire contained and away from other flammable objects. Avoid loose clothing and hair. Be careful to avoid burning yourself, especially when handling objects that are on fire or have been heated by the fire. When possible wear fire resistant gloves.

Seriously, I am not responsible if you set your house on fire.

Find a Heat Source

The first thing that you need is an appropriate heat source. You have a lot of options for this. You can use anything that can heat a piece of metal up to the melting point of your solder (between 400°F / 200°C and 700°F / 370°C). Butane lighters work the best, but you can also use candles, oil lamps, alcohol burners, or even open campfires.

Solder by Heating the Wires Directly

The simplest kind of soldering is just connecting two wires together. This can be done by heating the wires directly and doesn’t require any kind of a soldering iron.

Take two wires and strip the insulation off of the ends. You want there to be about one inch of exposed metal on each wire. Then twist the wires tightly together.

In order to solder the wires together, heat the ends of the wires and apply solder to the opposite side of the exposed section (where the wires first meet). You do not want to try to apply solder to the heated area because soot and other chemical residues can build up on this area and make it difficult for the solder to stick properly.

Find Some Scrap Metal to Use as a Soldering Iron

When soldering on a circuit board, you can’t heat the board directly with an open flame, so you need to use something as a soldering iron. You can probably find a suitable piece of metal laying around.

Steel is a good material to use for this. It is strong, it retains heat fairly well, and it is very common. Copper can work, but copper cools off much more quickly than steel. If you use copper you will need to work quickly.

Here are some examples of objects that can work: Steel wire (at least 14-gauge); nails; screw driver; bolts; multi-tool; rebar

The thicker an object is, the more heat it will take to get it to the appropriate temperature. So for small heat sources such as candles and lighters, use thinner soldering irons. For larger heat sources, you can use larger soldering irons.

Create a Soldering Iron to Use with Small Heat Sources Such as Candles and Lighters

When working with small heat sources such lighters and candles, you need to use a small soldering iron. The ideal material to use for this is 14-gauge steel wire. This is small enough that it heats up quickly, but large enough that it can retain the heat long enough to solder with. It is also easy to bend the wire into any shape that is convenient for you to work with. But if you can’t find steel wire, you can also use nails and screw drivers of the appropriate size.

I bent the end of the wire over, effectively doubling the thickness of the soldering tip. Then I bent the end of the wire at a 90-degree angle. This “L” shape made it easier to get a flame under it.

In most cases, you will probably hold the soldering tool separate from the heat source. However in the case of a stick lighter, it is relatively easy to attach the wire to the end of the lighter. All you have to do is wrap the wire around metal neck of the lighter and position the soldering tip over the flame.

When using the soldering tool, you want to heat the section of metal that is about 1/2″ from the end. This leaves the tip of the tool clean and free from oxidation or chemical residues.

Allow the metal to heat up for 10 to 20 seconds. Then quickly move it to the components you want to solder. You will usually just have enough time to solder a single connection. Then put the tool back over the flame and let it heat up again.

Create a Soldering Iron to Use with Large Heat Sources Such as Open Fires

If you are working with a larger heat source such as a fire place or a camp fire, then you need to do a few things differently. First, you will need to take many more safety precautions. Wear fire resistant gloves and, whenever possible, use metal tongs or pliers when handling the heated soldering tool.

A wood fire is much hotter than a candle or a lighter, so you will want to use a tool that lets you work at a safe distance. To do this you can either use a long wire or you can attach your soldering tool to the end of a non-combustible rod such as a piece of steel rebar.

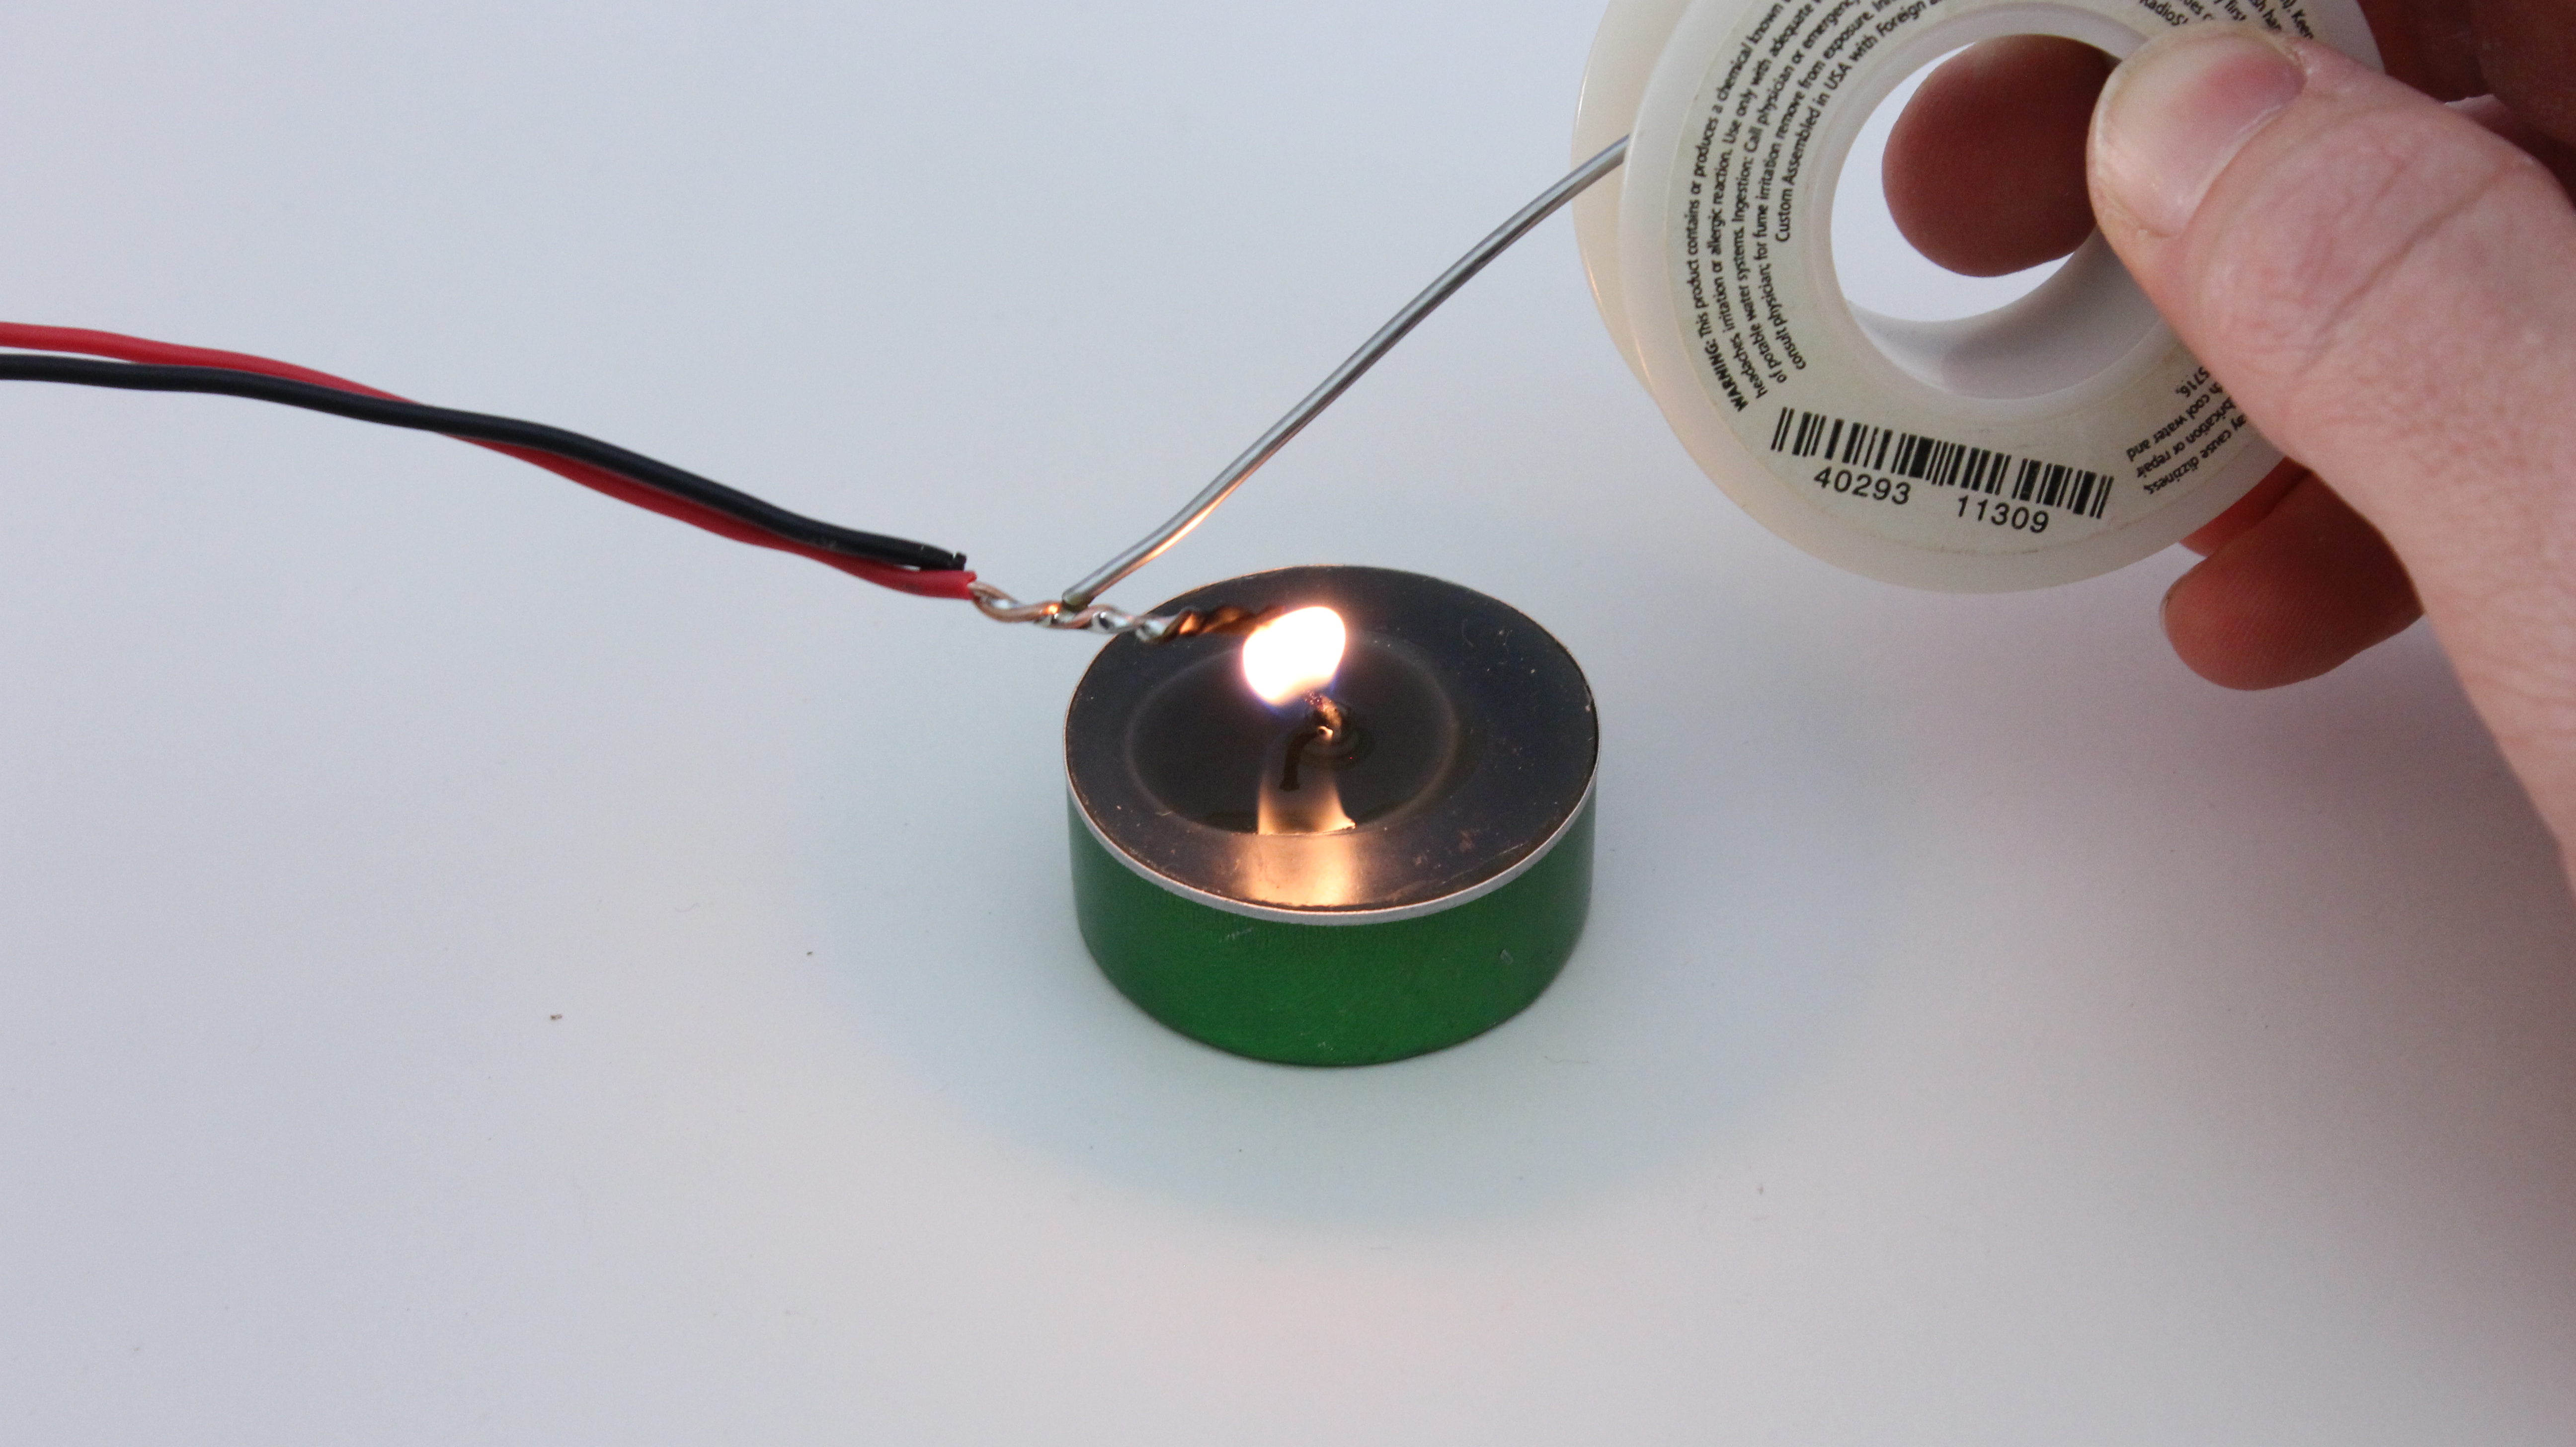
An open fire provides a lot more heat than a lighter, but it is much more difficult to precisely control. So you will probably want your soldering tool to be made of thicker metal. This will help it to catch and retain more heat. If you are using a wire as your soldering tool, you can make the tip thicker by folding the end of the wire over several times.

How and where you heat the solder tool will depend on the kind of fire you are working with. Hot coals will generally be a more steady heat source than leaping flames, but you will need a lot of glowing coals to heat your soldering tool. You will probably have to use some trial and error until you get a feel for what works. To make it easier, start with a larger fire. This will give you a larger and longer lasting coal bed to work with.

After you have heated your tool, move it quickly to the object that you want to solder. Be careful! Once the soldering tool is no longer able to melt the solder, move it back to the fire to reheat it.

Use Your New Soldering Skills to Save the Day

Now you have the knowledge and skills to be able to solder just about anywhere. This can really come in handy in an emergency situation. Start including a small amount of solder in your survival kits, emergency packs and bug-out bags.