tshirt finished

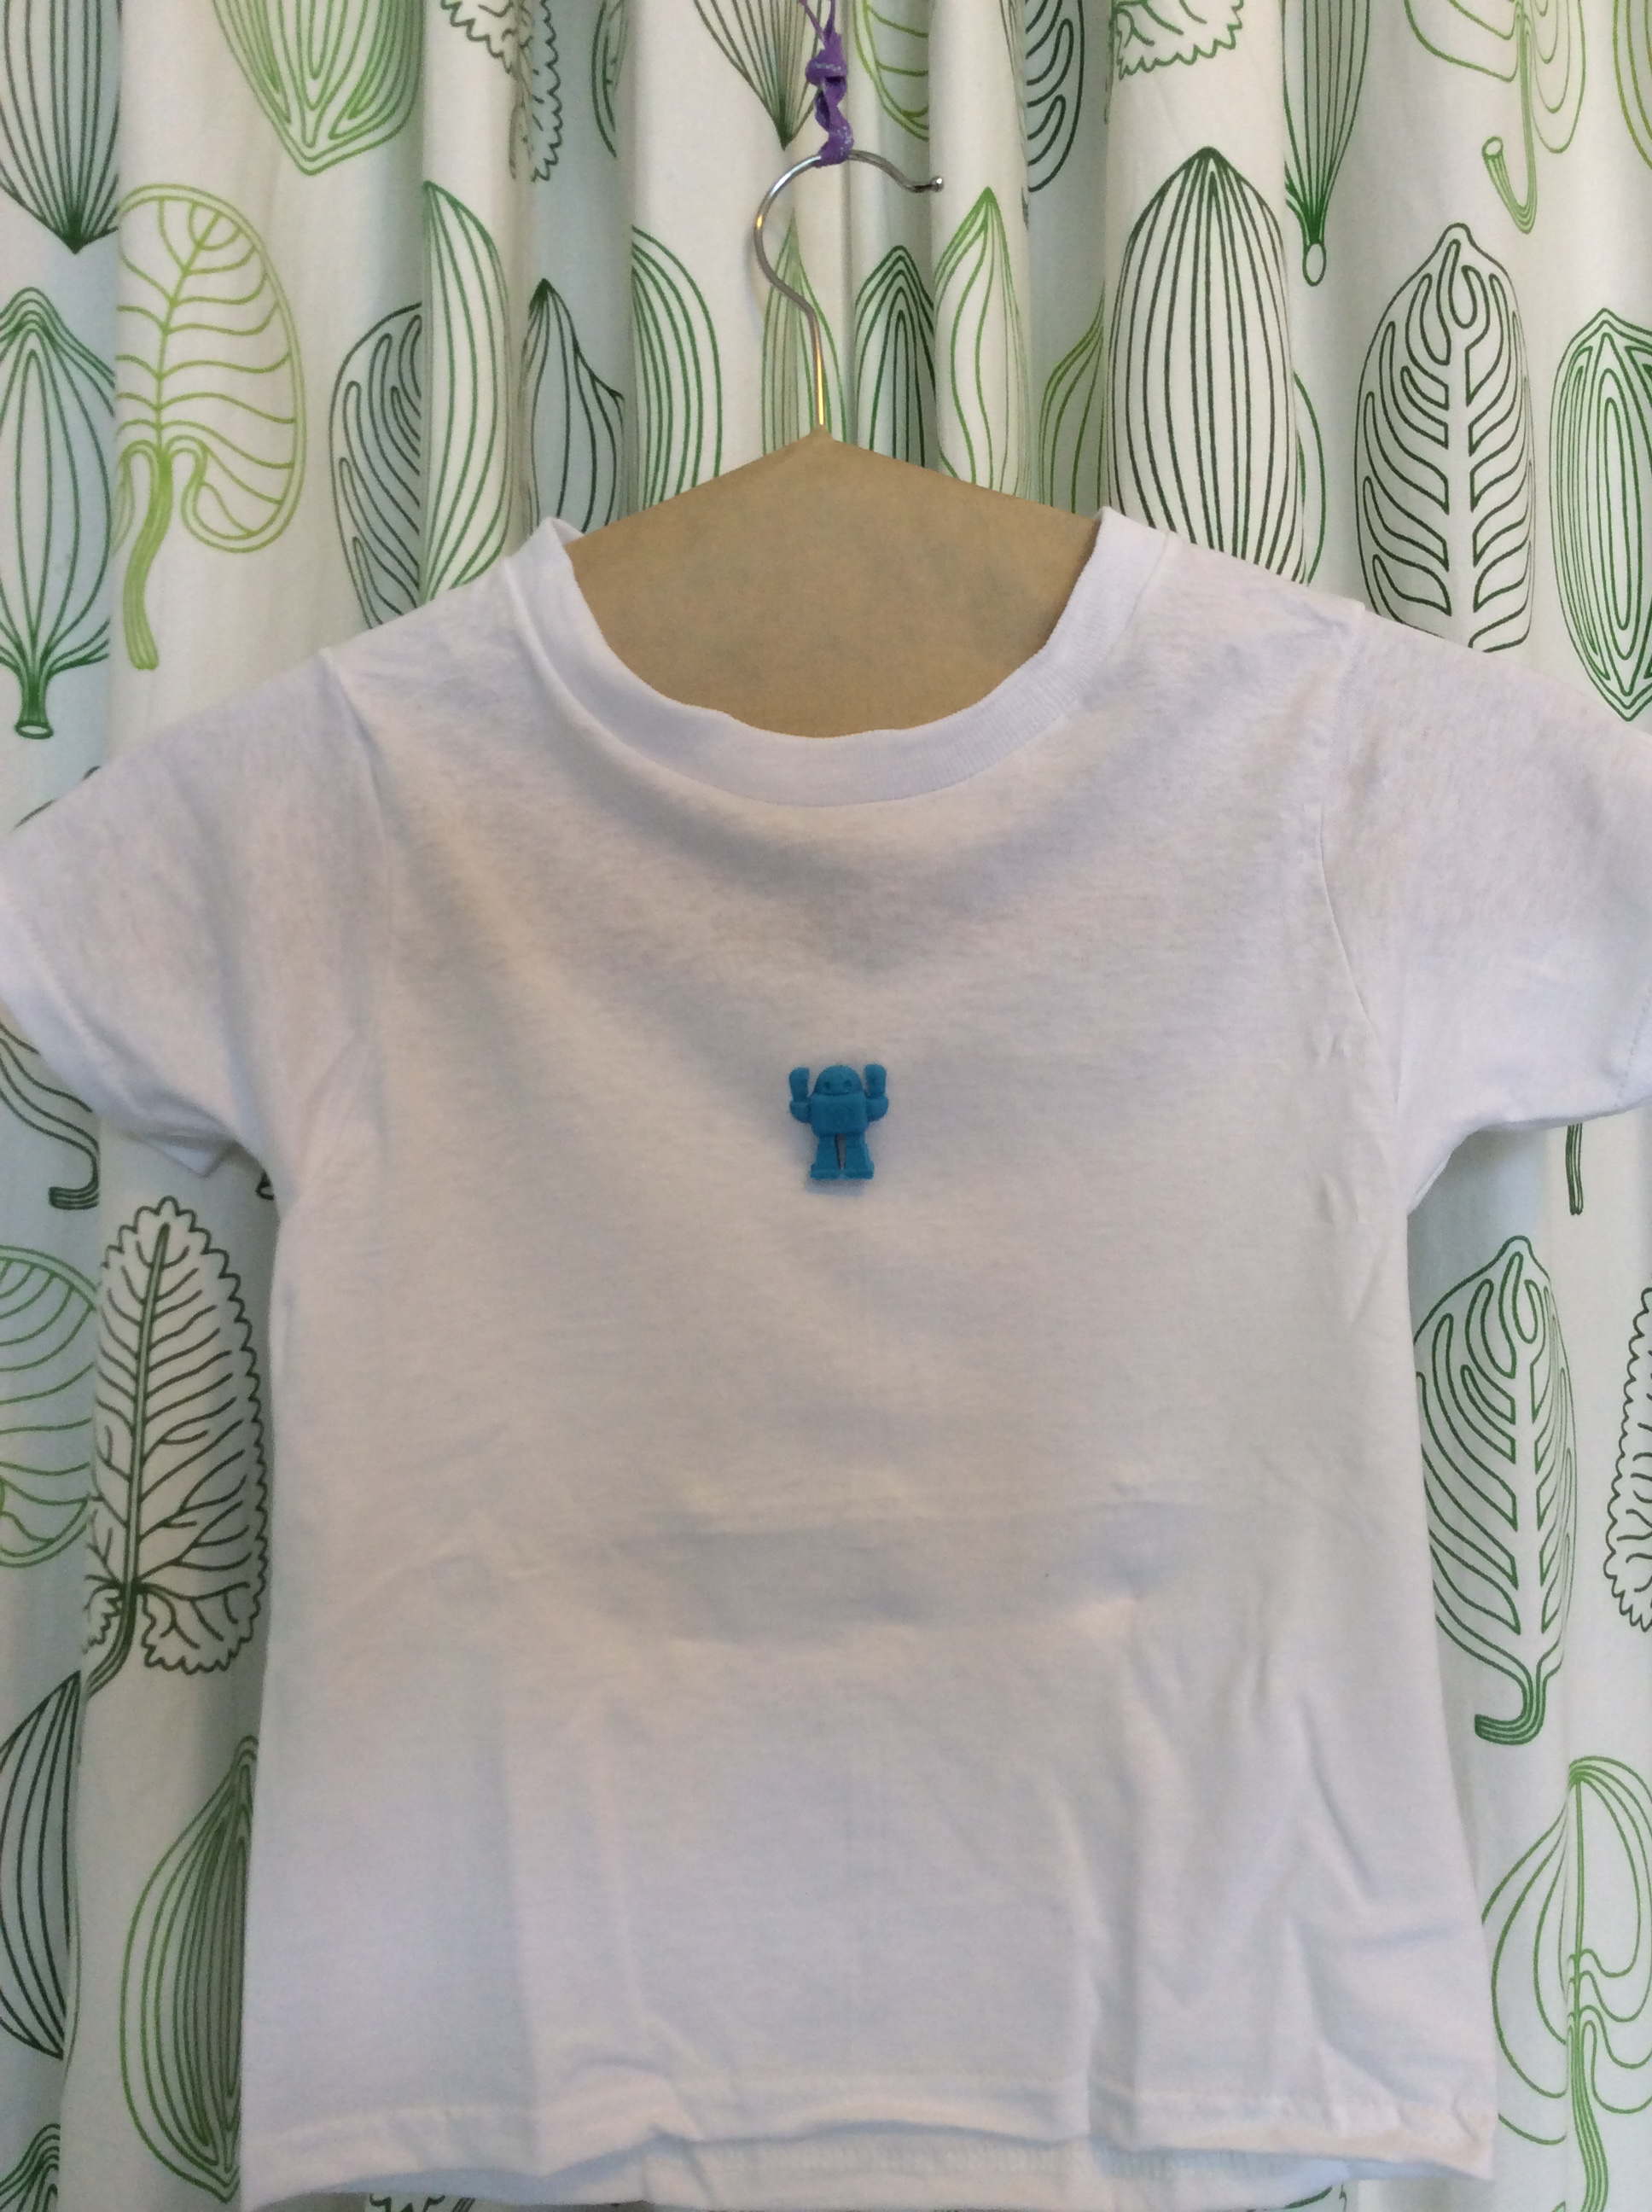
Print a 3D logo on your t-shirt! You can 3D print directly onto a t-shirt with your home printer using standard PLA, ABS or other regular filament.

What do you need?

Standard 3D printer using regular PLA or ABS filament. We used an Ultimaker 2 with a heated bed and a Zeepro Zim, without a heated bed.

T-shirt. Cotton, polyester, or blends. Large surface decorations will interfere with the extruder.

Small clips. We recommend you use plastic clips or small clothespins. You don’t want anything that will scratch your build plate and you also want small clips so they won’t hit the sides of the printer when the build plates moves.

3D model. We used Tinkercad and prints downloaded from the Thingiverse.

Software for slicing. We used Cura.

Fabric glue (optional). Flexible fabric glue such as Fabri-tac or Jewel-it

Project Steps

STEP 1

Select your model. The size of your design will depend on your printer capacity. Individual designs up to about 4 inches square and arrays of geometric shapes are good choices. Large designs with no spaces between the elements will not be flexible.

STEP 2

Slice your model and convert to gCode. We’ve found that between 15-30% infill is adequate for most models.

STEP 3

Place one side of your shirt on the build plate. Smooth the fabric on the build plate and use numerous clips to hold the fabric taut at the middle and corners. Wrinkles in the fabric will interfere with the print. Watch out for cables and other moving parts and check that the clips won’t hit the extruder. Be sure you are only printing on one side of your shirt, not both the front and back.

tshirt step 3

STEP 4

Start your print. Watch the printer for the next couple of layers to be sure the extruder head isn’t pulling the fabric too much. Be careful when adjusting anything on the build plate, the extruder head is hot!

tshirt step 4

STEP 6

Wait.

tshirt step 6

STEP 7

Hooray your print is done! Wait for the build plate and nozzle to cool and carefully remove your shirt.

tshirt step 7

STEP 8

Optional reinforcement with fabric glue. Your design is not permanently affixed to the t shirt and with enough effort you can peel it off the fabric. To be sure your print sticks you can reinforce it with fabric glue in two ways. On the inside of your shirt cover the backside of the print with enough fabric glue to permeate your fabric and stick to the print of the front. On the outside of your shirt you can also use a fine tip to spread a thin layer of glue along the edges of the print where it meets your t shirt fabric.

tshirt step 8

Want to see projects that use 3D printing on fabric?

Come to Hal Rodriguez’s Show and Tell at the Bay Area Maker Faire – Saturday in the Show and Tell Area

Want to find out about Electronics for Clothing and Costumes?

Come to Sahrye Cohen’s talk at the Bay Area Maker Faire on Sunday, 5/22/16, 2:30 PM-2:55 PM, Location Zone 2: Make Electronics